Lacuna Passage - Devlog #6 - Using highly detailed 3D components in your first-person HUD
This week’s devlog is a bit more of a tutorial where we cover our method for creating dynamic, highly detailed 3D HUD elements. The basis for our pipeline involves rendering complex high-poly models onto flat, single polygon planes with a normal map for light interactions.
Pros of this method
- You effectively have an unlimited polycount for your HUD. By rendering your high poly model to a flat plane you will have no noticeable polygonal curves or sharp edges (if you don’t want them, that is)
- Extremely low poly count in relation to the quality of the illusion
Cons of this method
- A change in HUD design requires re-rendering of all your texture bakes
- The HUD cannot move in relation to the camera or the illusion breaks
So, let’s get started:
1. Setting up your camera angle
In order to model your HUD components you need to setup a camera in your modeling software that is exactly the same field of view as your first-person camera in your game engine. This will help you preview what your HUD will look like in game. It’s also going to be very important later when we need to render out a normal map.
2. Build your model according to the view you want in game
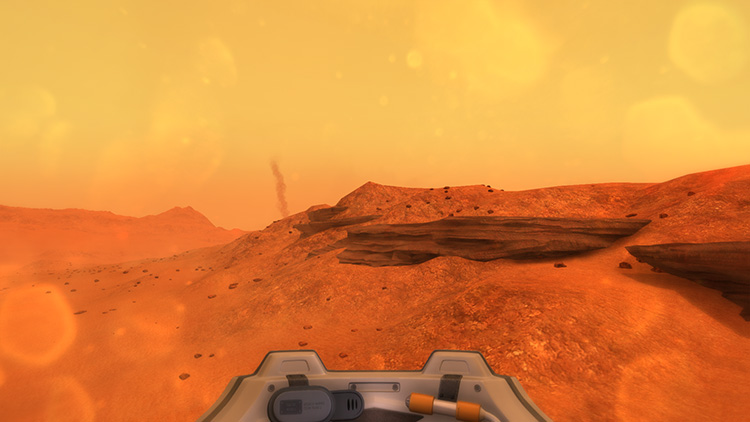
This part just comes down to whatever style you are looking to have with your particular game. In our case we are creating a small visible portion on the inside of a space helmet.

3. Create a plane to project your model onto
Once your model is finished (no need to texture it yet) you need to create a plane that completely encompasses your model from the point of view of your first-person camera.

4. Orient the plane to your camera angle
Make sure that the plane is exactly perpendicular to the origin point of the camera. Check the image to see a visual.
5. Quickly unwrap your plane
No frills here. Just unwrap the plane however you like.

6. Render your normal map
Use Render to Texture with a projection modifier on your plane that encompasses your model to create a normal map of the original model. If you’ve never done a normal map bake from a high poly model before check out this guide.

7. Create your textures
You can create your textures in Photoshop or texture your original model and do another render to texture for the diffuse instead of the normal map.
8. Create an alpha mask for the model’s texture
Since our projection shape does not perfectly match our plane we need to have an alpha channel somewhere that determines areas of transparency.

9. Import your plane and your textures
Bring everything into your game engine and align the plane exactly as you had it in your camera preview in your modeling software. In our case we are using Unity so here are some tips to help you out.
Unity specific directions:
- Have your plane parented to a HUD camera that is distinct from your scene camera
- Have the HUD camera render last and mask only the HUD elements
- Make sure the clear flags are set to Depth Only to preserve your depth buffer
- Use the same HDR settings on all cameras if you are using image effects